Frequently asked questions
After purchasing a paid IRRISketch subscription, you need to activate it manually in your personal account at the link:
where your subscription will be in the right column. After activation, you will be able to freely use all paid functionality of the service.
In this case, you need to go to your personal account by following this link:
www.irrisketch.com/account/orders
Look at the button at the bottom of the order. The red "Repeat" button means that the payment failed and you should try again, but first check to see if the money has been charged.
If you have been seeing the yellow "Payment in progress" button for a long time, chances are that the transaction has not happened automatic confirmation. If this is the case, click this button to complete it and everything should work.
After the successful payment and completion of the transaction you will see a green "Payment Verified" button. Click it and your subscription will appear in the right column.
1. Open the same browser, on the same computer where you last worked on the project.
2. Go to the IRRISketch workshop and open the project that the problem is related to
3. If when opening a project, a window appears offering to restore the project - press the "Restore" button and look at the result. If the project has not been restored to the required state, continue to follow instructions.
4. In the upper right corner, click the History button (clock icon with arrow) and if everything was saved correctly, you will see a list of timestamps of your project states. Select the one when the project was in the most desired state. After that, be sure to save the project!
Usually, this is related to a very large number of elements in the project, as IRRISketch Residential is not designed for particularly large plots. This problem can be solved by deleting all existing objects in drawing mode and replacing them with a single background.
1. Create a copy of the project and open it if you're afraid of accidentally losing data.
2. Switch to irrigation mode and use the ctrl+a key combination to select all elements, then cut them using the ctrl+x key combination (they will be saved in the clipboard).
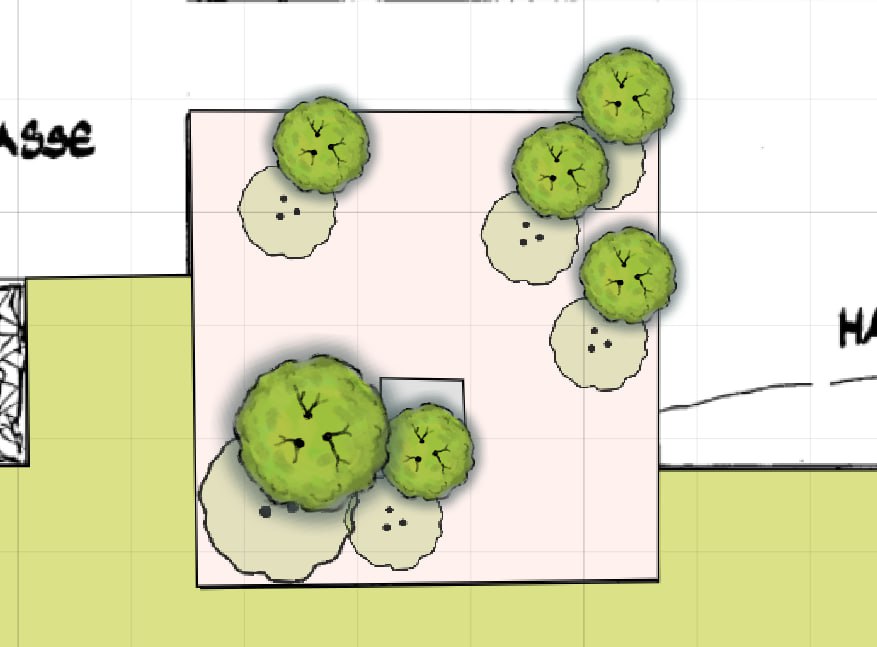
3. Switch to drawing mode, set the "Landscape" setting in the "Visual Style" tab to obtain the original landscape of the project, and remove the stamp.

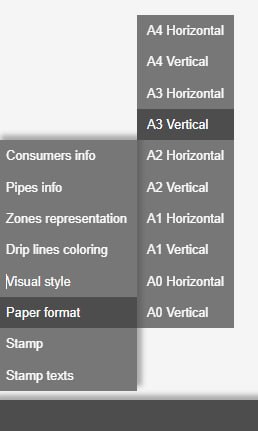
4. Select a sheet format from A1 to A4. The larger the sheet size, the higher the quality of the final image, but the more space it will occupy.
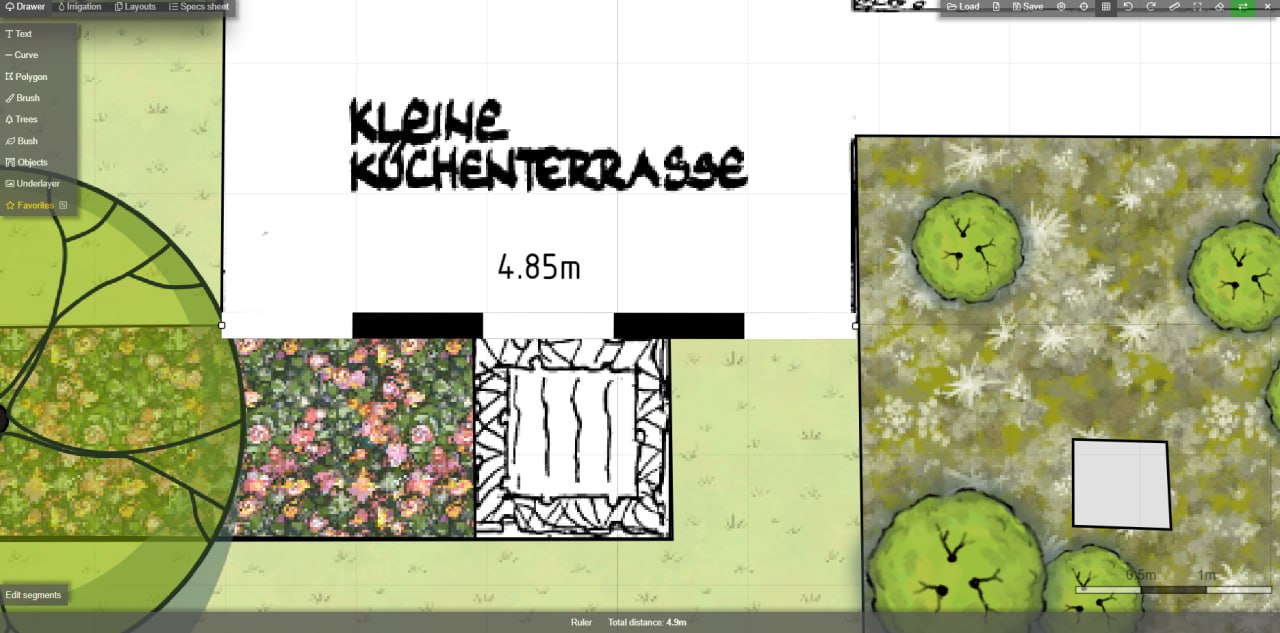
5. Use the "Ruler" tool in drawing mode to measure any easily measurable element of the drawing and record its length, as it will be needed later.
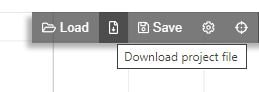
6. Switch to "Edit Drawing" mode at the bottom of the screen and insert the drawing into the sheet using the button at the bottom left. Export the project as an image. If the resulting image is larger than 10MB, you won't be able to use it. In that case, if you know how to use various image editors (such as Photoshop, Gimp), compress the image or reduce the number of colors. This will reduce the file size.

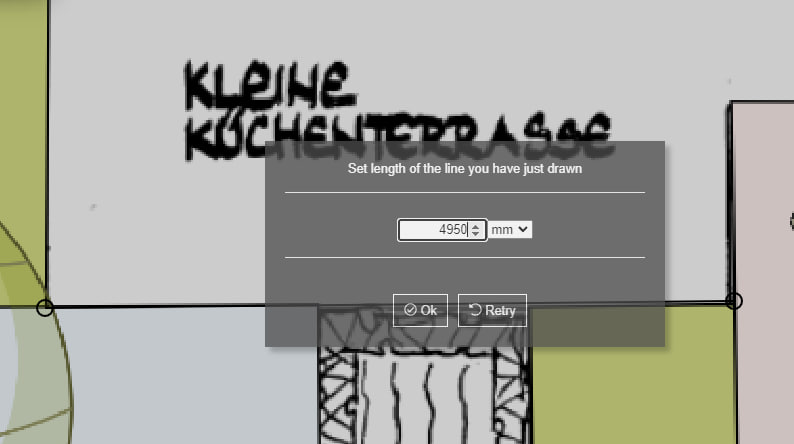
7. Insert the image into the project and set the correct scale using the length recorded in step 5.
8. Align the image with your drawing so that all elements are in the same positions as they appear in the image.
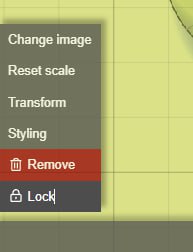
9. Lock the image by selecting it and clicking the corresponding button at the bottom left.
10. Use the ctrl+a key combination to select all elements in drawing mode and delete them. Only your image should remain.
11. Return to irrigation mode and paste all previously deleted irrigation elements back onto the drawing using the ctrl+v key combination. If done correctly, all elements should return to their original positions.
This is happening because your original image contains exif metadata. To make the image behave properly, you need to remove this metadata by using service www.verexif.com/en/.
After you open the link - load your image, then press "Remove exif" button, download new image and replace old one in IRRISketch.